

Freelancing sounds like something you do after college — once you have a degree, a portfolio, and a few years of experience. But thousands of students are already earning real money from freelance work while they study, and most of them started with no experience at all. If you can write clearly, design a simple graphic, organise a spreadsheet, or explain a subject to a classmate, you already have something a client will pay for.
This guide shows you exactly how to start freelancing as a student with no experience: how to pick a skill, learn it in about 30 days, build proof of your work before you have a single client, and land your first paid gig — all around a class timetable.

“No Experience” Is a Myth — You Already Have Skills
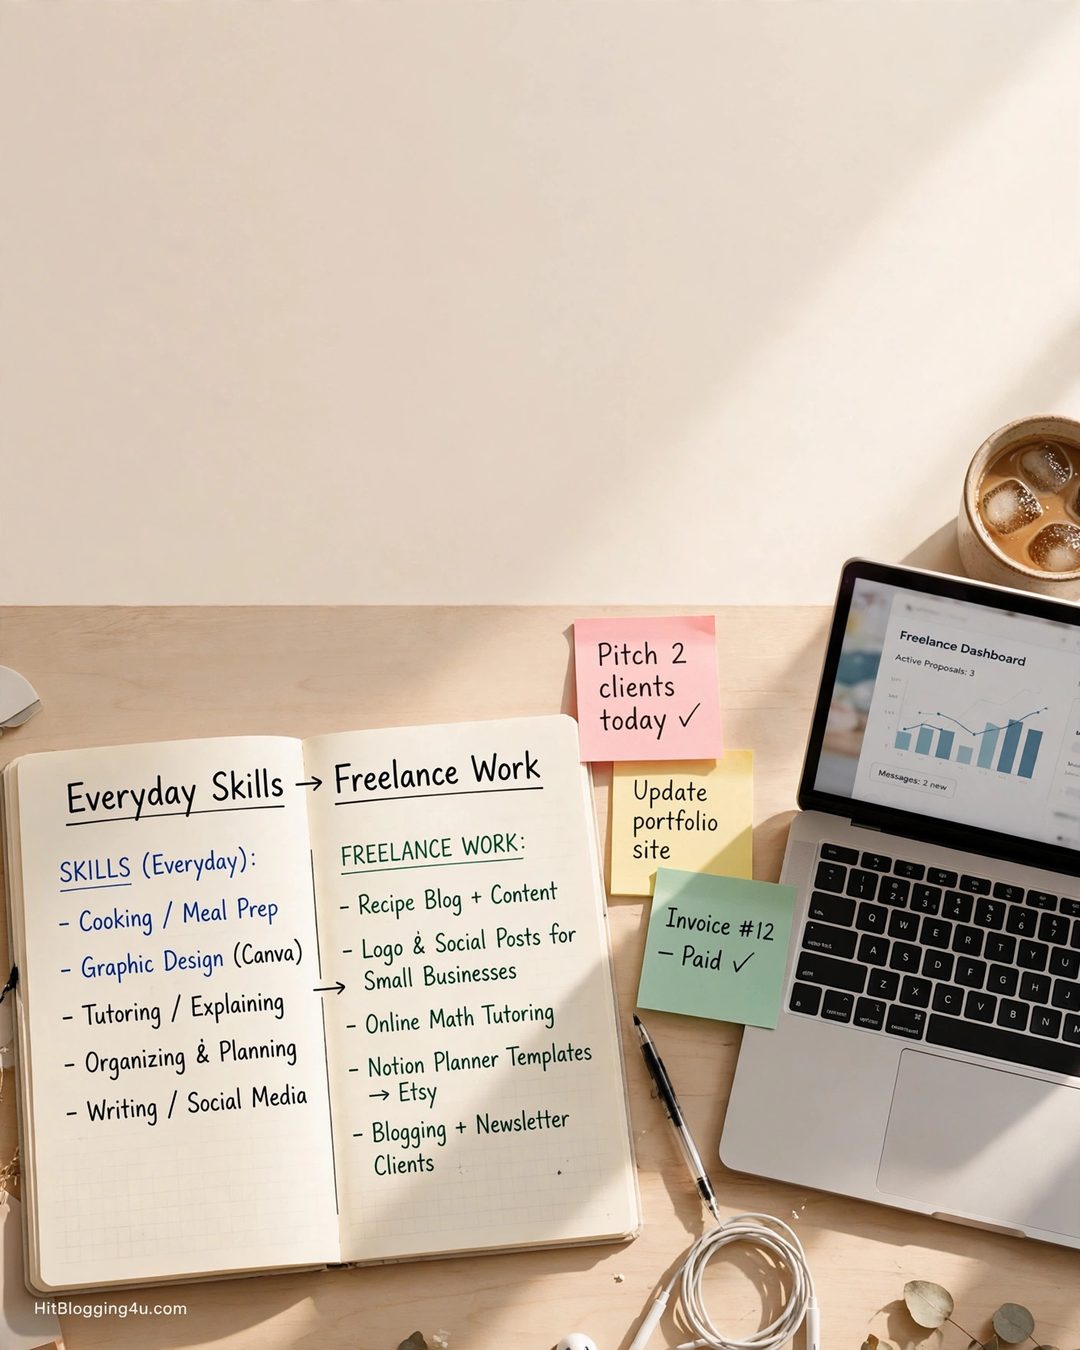
Here is the reframe that changes everything: clients do not hire your CV. They hire proof that you can solve one specific problem for them. And you have been collecting that proof for years — you just have not labelled it as experience yet.
Think about what you actually do every week:
- Wrote the group project report because everyone else’s drafts were a mess? That is copywriting and editing experience.
- Run a class Instagram page or society account? That is social media management.
- Help friends with their essays or explain tough topics? That is tutoring and teaching experience.
- Make slides, posters, or reels for events? That is graphic design and video editing.
- Keep the group chat organised, book rooms, chase deadlines? That is virtual assistance.
Your job is not to become an expert overnight. It is to take one thing you already do reasonably well, practise it deliberately for a few weeks, and package it as a service a small business can buy. If you want a broader picture of how students turn skills into income, read our guide to skills and side hustles for students.
Step 1: Pick One Beginner-Friendly Skill
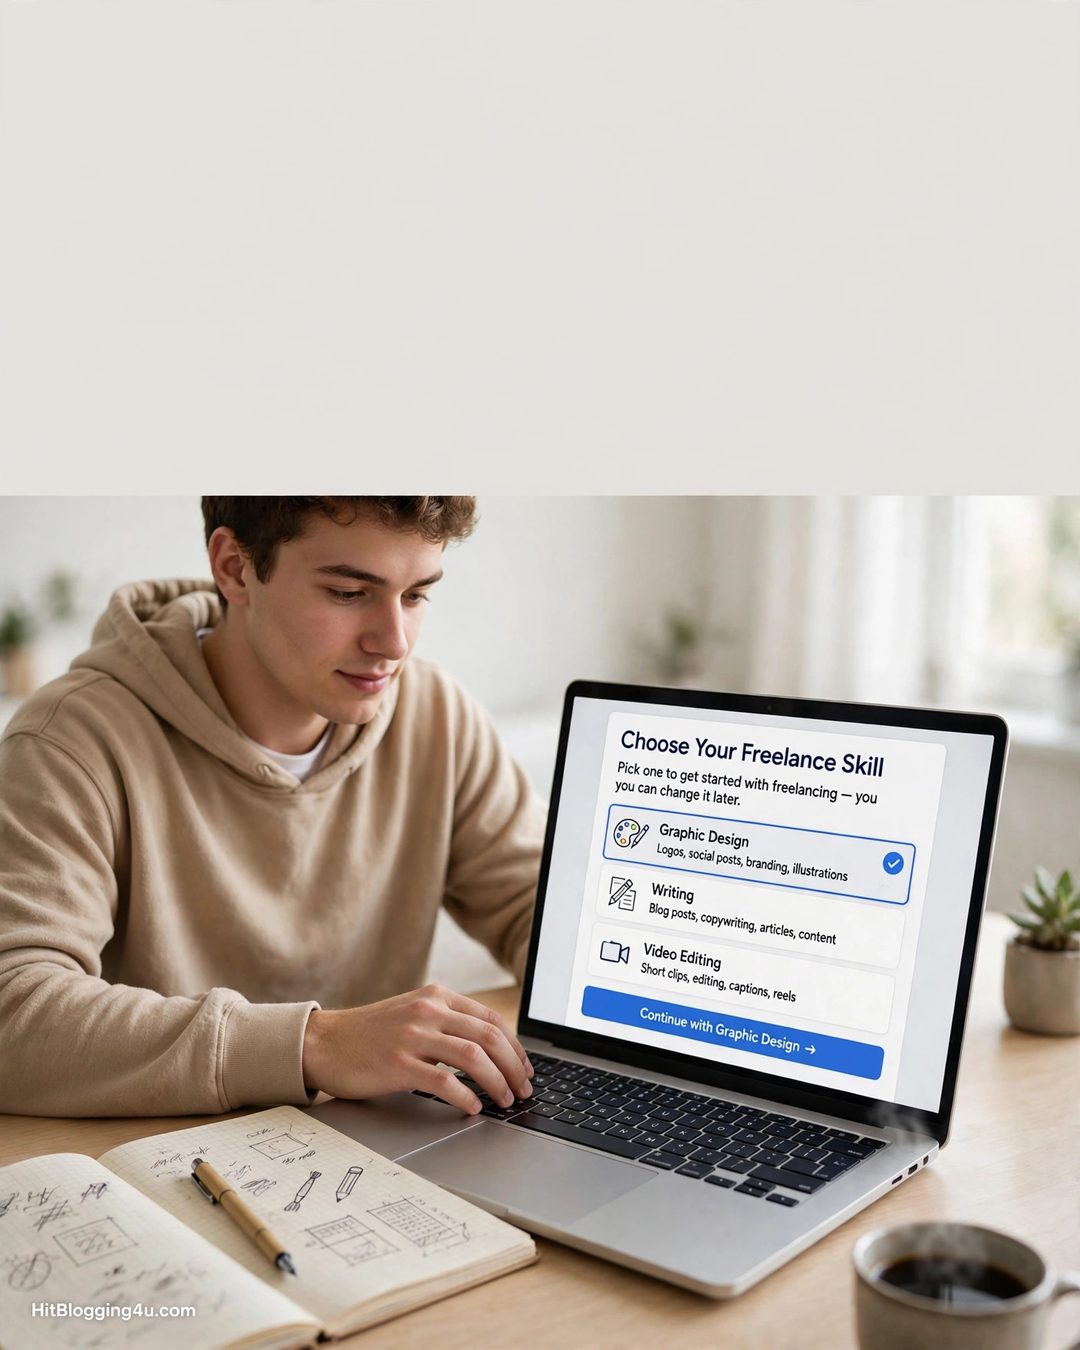
The biggest mistake new student freelancers make is trying to learn five skills at once. Pick one. You need a single skill you can execute well enough to satisfy a beginner-level client, and enough interest in it to stick with it past the first slow month.
These are the most beginner-friendly starting points for students in 2026:
- Content writing — blog posts, product descriptions, social captions, email newsletters. Lowest barrier to entry: you need nothing but a laptop and clear English.
- Canva design — social media graphics, posters, thumbnails, presentations, menus. No complex software to learn first.
- Virtual assistance — email management, data entry, research, scheduling, customer support. Ideal if you are organised and reliable.
- Social media management — planning and posting content for small businesses that do not have time to do it themselves.
- Video editing — reels, YouTube Shorts, talking-head videos, podcast clips. Short-form video demand keeps growing.
- Proofreading — a natural fit if friends already ask you to check their essays. See our guide to becoming a proofreading pro for the full breakdown.
Choose the one that matches something you already enjoy. If you hate writing, do not pick content writing just because it pays fastest — you will quit in week two. Interest beats income potential at the start, because interest is what keeps you practising.
Step 2: Learn It in 30 Days (Free Resources, 1 Hour a Day)
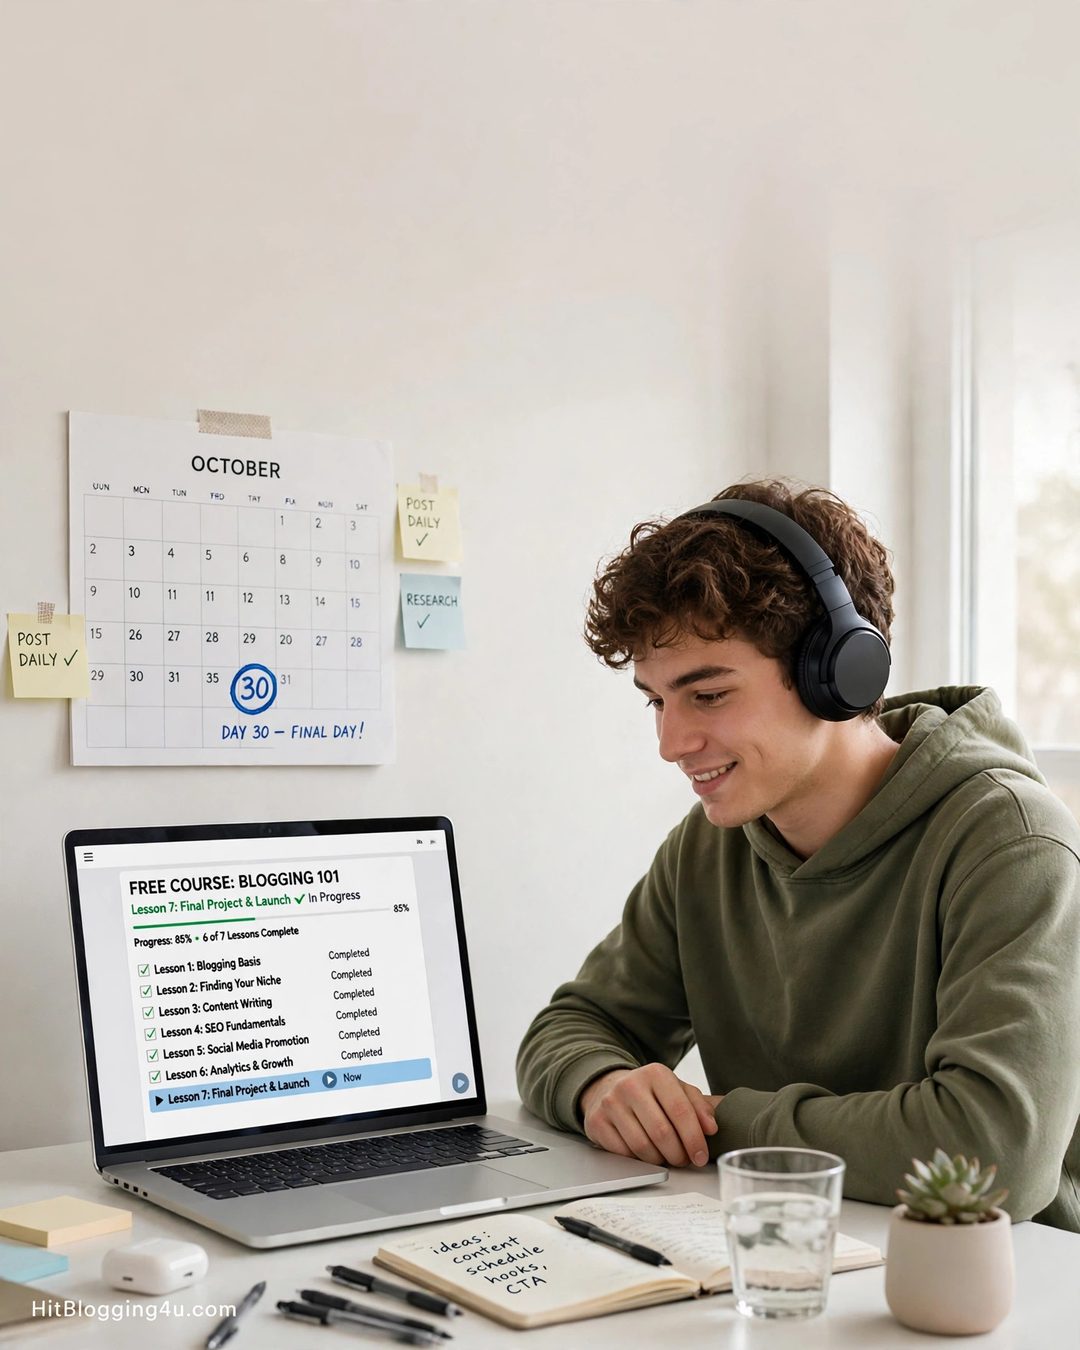
You do not need a paid course. One focused hour a day for 30 days is enough to reach basic paid-work standard in any of the skills above. Here is a simple 30-day plan:
- Days 1–7: Learn the basics. Pick one free course or YouTube playlist and finish it. Coursera and HubSpot Academy offer free options; YouTube has complete beginner series for Canva, CapCut, and writing.
- Days 8–14: Copy the pros. Find five pieces of work you admire in your skill — a blog post, a reel, a social media account — and recreate them from scratch. This is how you learn standards fast.
- Days 15–21: Make your own versions. Stop copying. Create three original pieces on topics you choose, as if a real client had briefed you.
- Days 22–30: Polish and package. Pick your best three pieces, tidy them up, and put them somewhere a client can see them — a Google Drive folder, a free portfolio site, or a Behance page.
Use free tools while you learn: Canva for design, CapCut for video, Google Docs for writing, Notion for organising your work. Do not spend money on software before you have earned your first payment.
Step 3: Build 3 Sample Pieces Before You Have Clients
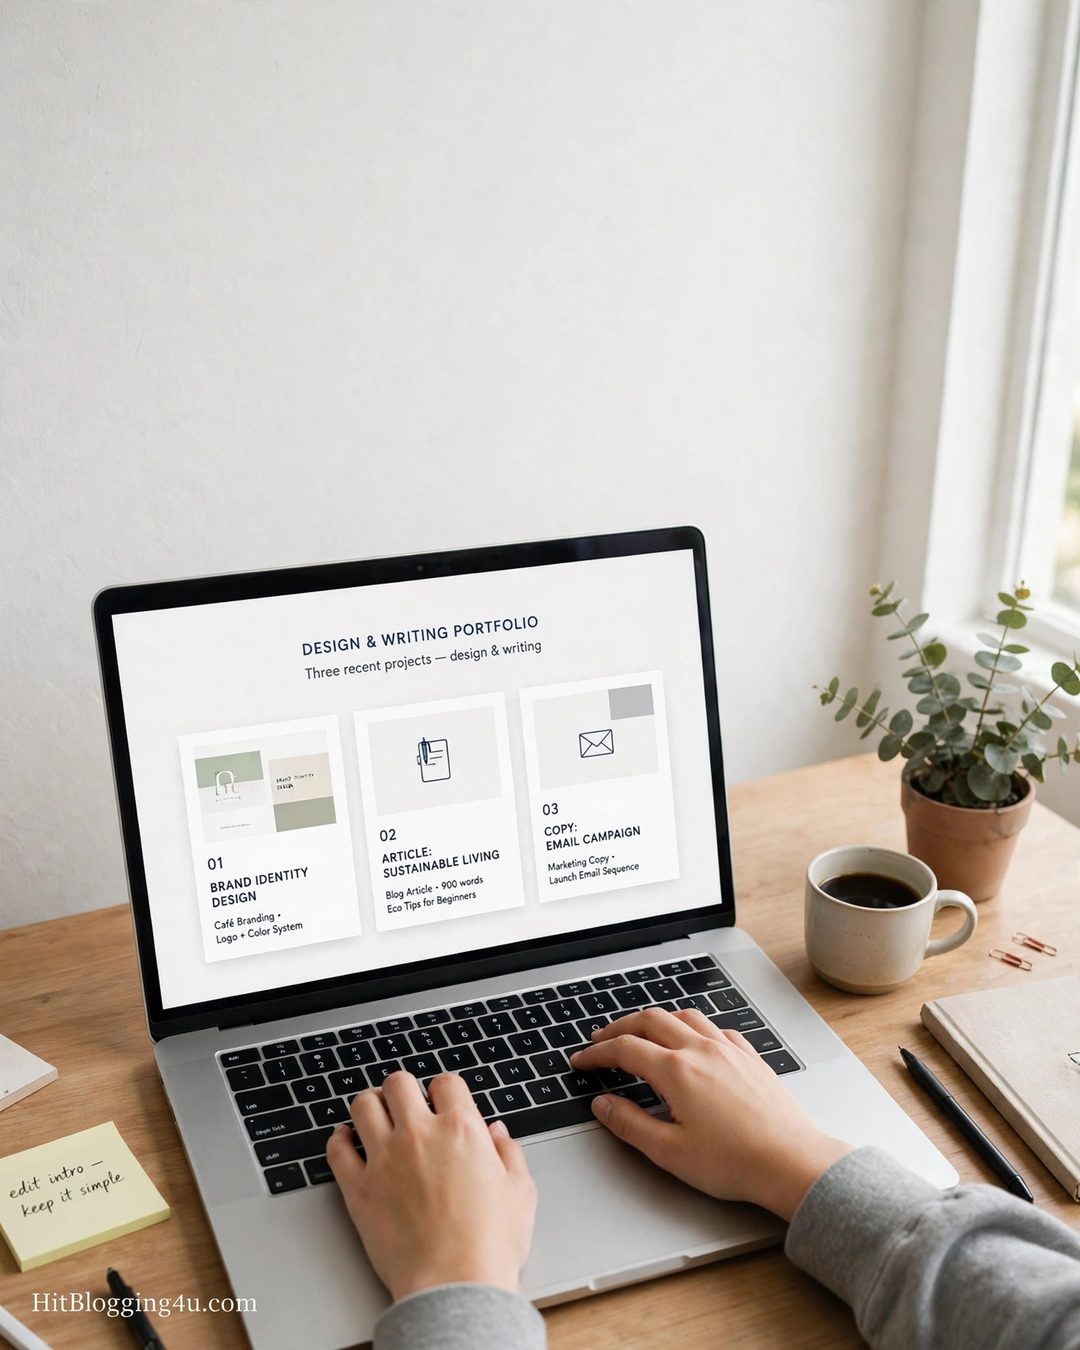
Build your portfolio before you have a client, not after. Clients do not care about certificates. They care about results — and three strong samples are enough to prove you can deliver.
Here is how to create samples for each starting skill:
- Writing: pick a small business or product you like and write a blog post or product description for it, as if they had hired you.
- Design: redesign a real local business’s Instagram post or menu — then show the before and after side by side.
- Video editing: take a public-domain clip or a friend’s raw footage and cut it into a 30-second reel with captions.
- Virtual assistance: build a sample: a tidy spreadsheet, a researched list of 20 leads, or a one-week content calendar for a made-up business.
Three pieces is the sweet spot — enough to show range and consistency, not so many that you burn weeks before earning anything. Write a one-paragraph case study for each: what was the brief, what did you make, and what result would it get the client?
Step 4: Set Up Your Profiles and Find Your First Client

Your first three clients will almost always come from people who already know you exist. Start close to home before competing with the whole internet:
- Your own network: tell friends, family, lecturers, and local businesses what you do now. A cafe that needs Instagram posts or a tutor who needs a flyer is a real first client.
- LinkedIn: update your headline to name your skill, post one of your sample pieces, and tag the tools you used. Recruiters and small-business owners actively look for students there.
- Upwork and Fiverr: slower to start, but once you have a few five-star reviews it snowballs. Price low at first — think of it as buying credibility, not earning your full rate.
- Student platforms: look for student-focused job boards and campus noticeboards. Fewer competitors, and clients there expect student rates.
When you apply for a job, do not send the same message to everyone. Read the brief twice, repeat the client’s problem back in your own words in the first two lines, link one relevant sample, and end with one clear question. That alone puts you ahead of most applicants. Our guide to legitimate work-from-home jobs with no startup fees lists more places students can find real paid work online.
How Much to Charge for Your First Gigs
Pricing is where most beginners either freeze or drastically undercharge. Use this simple framework for your first three gigs:
- Gig 1: price slightly below the typical market rate. The goal is a real project, a real testimonial, and real experience — not maximum profit.
- Gig 2: charge the normal beginner rate for your skill (roughly $10–$25 per hour for writing, VA work, or design, depending on your country and niche).
- Gig 3: charge your full beginner rate, and never go below it again.
After two good reviews, raise your rate. Always take a 30–50% advance before starting work — it protects you and signals to the client that you are a professional. And never pay to get work: if a “client” asks you to pay a fee first, it is a scam. For a wider look at student income options, see our student guide to online income.
Mistakes Students Make When Starting Freelancing
- Learning five skills at once instead of getting paid for one.
- Waiting until they feel “ready.” You become ready by doing paid work, not by taking another course.
- Charging nothing for “exposure.” One free project for a real business, documented as a case study, is the limit.
- Ignoring the timetable. Cap freelancing at 10–15 hours a week during term. A failed semester costs far more than a freelance gig pays.
- No contract, no advance. Even a one-page email agreement with the scope, price, and deadline protects both sides.
Frequently Asked Questions
Can a student start freelancing with no experience?
Yes. Clients hire proof of ability, not years on a CV. Three strong sample pieces, made as practice projects, are enough to win your first small gigs in writing, design, virtual assistance, or social media work.
What freelance work can a student do?
The easiest starting points are content writing, Canva design, virtual assistance, social media management, video editing, and proofreading. All can be learned to a basic paid standard in about 30 days with free resources.
How do students find freelance clients?
Start with your own network — friends, family, local businesses, and lecturers — then LinkedIn, Upwork, and Fiverr. Personalise every application: repeat the client’s problem in your own words, link one relevant sample, and ask one clear question.
How much can a student earn freelancing?
Beginners typically earn $10–$25 per hour, or $15–$50 per article or design project, depending on the skill and niche. Income grows quickly after your first few five-star reviews, when you can raise your rates.
Do I need a degree or certificate to freelance?
No. No client has ever asked a student freelancer for a degree. A small portfolio of real samples matters far more than any certificate.
Freelancing as a student is not about becoming an entrepreneur overnight. It is about converting what you already know into money that hits your account this month — while building a portfolio that makes you stand out long after graduation. Pick one skill today, practise it for an hour, and make your first sample this week. Your future self will thank you.